How to Create Accurate GST Reports in TallyPrime
 Hardik Gupta9 Jul, 2026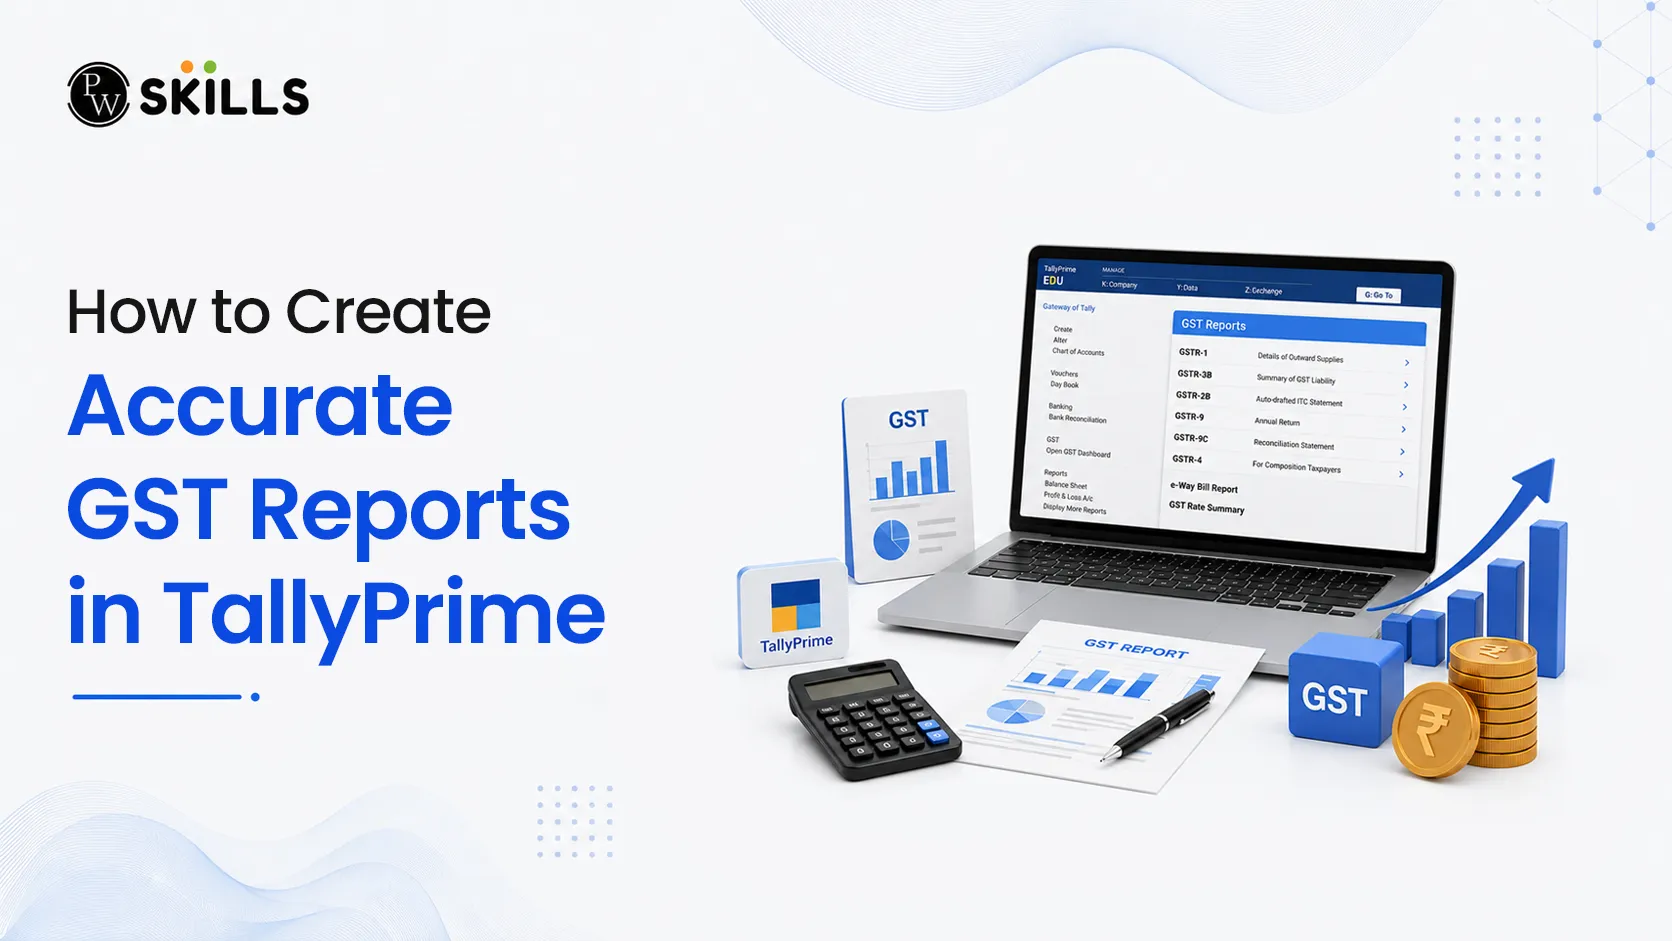
Managing taxation and ensuring tax compliance can be an overwhelming task for business owners and accountants. Many learners struggle with matching their physical invoices against digital returns, which often leads to errors during GST reports in TallyPrime. If your business books do not match the government portal, you risk penalties or delayed tax credits. This comprehensive accounting software tutorial explains how to handle Tally GST reports without stress.
Importance of Automated GST Reports in TallyPrime
Manually preparing files for tax submission is highly prone to calculation errors. Utilizing the automated TallyPrime GST Reports allows businesses to capture outbound and inbound transactions in real time. The software seamlessly reads your daily sales, credit notes, and purchases, sorting them into the structured tables required by tax authorities.
Using automated reports for Tally GST offers several core benefits:
-
Real-Time Tax Categorisation: Invoices are sorted into designated portal categories automatically.
-
Multi-GSTIN Management: Businesses managing multiple branches can consolidate data or filter details for an individual tax registration by using the F3 (Company/Tax Registration) shortcut.
-
Filing Readiness: Data remains compiled and ready for instant export into compliant formats.
How to Access the GST Reports in TallyPrime
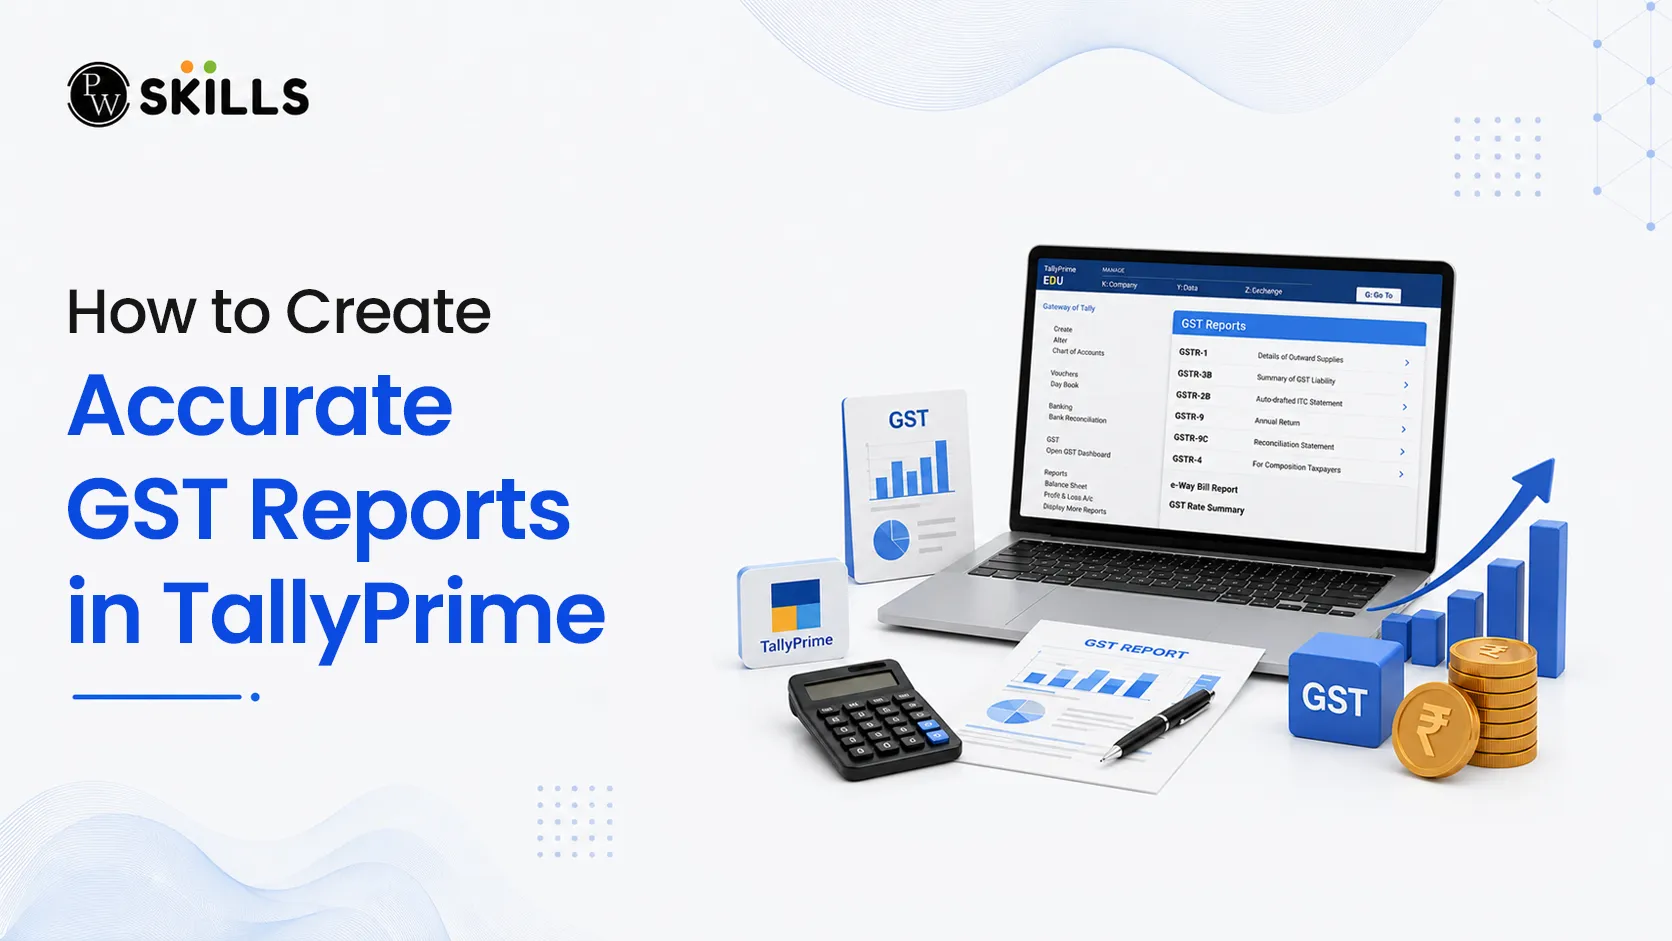
The GSTR-1 report tracks all your outward supplies or sales transactions over a specific month or quarter. Accessing this dashboard is essential for successfully filing your GST return.
You can navigate to the report using two reliable methods:
-
Method 1: Press Alt + G (Go To) from anywhere within the software, type GSTR-1, and select it from the list.
-
Method 2: Go to the Gateway of Tally, select Display More Reports, click on GST Reports, and then open GSTR-1.
Once inside the report, press F2 (Period) to set your precise reporting timeline. If your business operates as a Regular Special Economic Zone (SEZ) unit, your outward supplies to other SEZ entities will display in the exact portal format required for your specific registration type.
Also Check: Tally Blogs, GST Tutorials and Accounting Software Guides
How to Review Transaction Statistics for GST Reports in TallyPrime
Before exporting any information, you must check the foundational transaction health through the Total Vouchers section. This workspace shows the structural movement of all your recorded invoices.
|
Voucher Classification Category |
Functional Description and Operational Impact |
|
Total Vouchers |
Displays the complete count of all vouchers recorded during the selected duration. |
|
Included in Return |
Reflects the specific transactions that meet the tax criteria and are filed in the current statement. |
|
Ready for Export |
Includes completely error-free vouchers and corrected transactions waiting for data extraction. |
|
Uncertain Transactions |
pinpoints entries containing calculation issues, wrong tax types, or missing tax information. |
|
Not Relevant for this Return |
Houses non-tax entries like internal payroll, stock transfers, or vouchers linked to completely different registration periods. |
How to Resolve Uncertain Transactions for Accurate GST Reports in TallyPrime
A major advantage of using TallyPrime GST Reports is the built-in validation system. If an invoice contains errors, the software places it under the Uncertain Transactions (Corrections needed) category. You must resolve these anomalies before proceeding with your GST return filing.
Step 1: Drill Down Into Error Categories
Double-click on the Uncertain Transactions row. The platform automatically organizes issues into intuitive groups, such as Transactions with Incomplete/Mismatch in Information, Outward Supplies, or Advance Receipts. You will also see detailed breakdowns like Invalid or Missing Information or Mismatch Within the Transaction.
Step 2: Correct Missing Registration Details
If an invoice sits in the error list because a customer's tax ID is missing, open the specific sub-group displaying invalid registration fields. If you verify that the entered tax ID format is correct and want to proceed, select the entry and press Alt + V (Accept As Is) to clear the warning.
Step 3: Validate and Update HSN/SAC Codes
To ensure your goods and services match official tax tariffs, follow these steps:
-
Highlight the Total Vouchers line inside the GSTR-1 page and press F7 (Validate HSN/SAC).
-
Identify the items flagged with invalid codes on the validation screen.
-
Press Alt + V (Update HSN/SAC Details) to modify the information.
-
Type the accurate tariff number and save the voucher.
How to Analyze the Return View Mode for GST Reports in TallyPrime
The Return View within the software provides a direct mirror of the government tax portal layout. This lets you cross-check columns and tax rows before submitting data online.
The software dynamically pushes sales into distinct, search-intent-based filing sections:
-
B2B Invoices (4A, 4B, 4C, 6B, 6C): Gathers all taxable sales completed with regular registered businesses or composite dealers.
-
B2C (Large) Invoices (5A, 5B): Automatically extracts large consumer transactions that exceed Rs 1 lakh.
-
Exports Invoices (6A): Captures outward international shipments, including bond transactions, exempt exports, and Letter of Undertaking (LUT) arrangements.
-
Credit or Debit Notes (Registered/Unregistered - 9B): Reflects sales adjustments, returns, or price changes issued to customers.
-
e-Commerce Summary Report: Accessible via Ctrl + H (Change View), this space consolidates online marketplace sales (such as Amazon or Flipkart) across tables 14 and 15, matching the latest GST reporting guidelines supported by TallyPrime.
How to Export Data From GST Reports in TallyPrime
Once your transaction totals match your local paperwork, you can extract the final files for web upload.
Follow this workflow to export your data cleanly into a single spreadsheet:
-
Open your prepared GSTR-1 review dashboard.
-
Press Alt + E (Export), select Current, and press C (Configure).
-
Go to the File Format setting and select Excel (Spreadsheet).
-
Locate the specific option labeled Export the Return in a single file and change it to Yes.
-
Press Ctrl + A to save these configuration parameters.
-
Press E (Export) to run the data extraction process.
The generated spreadsheet creates separate worksheets for each portal section, keeping your data organised for a smooth upload.
Read In Detail: How Accountants Use TallyPrime for GST Filing
How to Finalize GST Reports in TallyPrime
Locking your data after completing your review prevents accidental edits or tampering by other users. This step protects your filed records.
-
Sign Your Tax Period: Press F10 (Sign Return) within your GSTR-1 dashboard. Choose S (Sign Current Return). This locks the records for that month or quarter. If anyone attempts to modify a transaction within a signed period, the software automatically shifts that invoice into the Modified in Books After Export section.
-
Undo Signing for Necessary Edits: If unexpected business changes require you to correct a locked invoice, press Alt + F10 (Undo Signing). Confirm by selecting S (Undo Signing for Current Return) to safely reopen the books for editing.




FAQs
How do I filter my TallyPrime GST Reports for a single branch if I have multiple registrations?
Where do SEZ transactions appear inside Tally GST reports?
What should I do when an invoice shows up under Uncertain Transactions during GST return filing preparation?
How can I remove a voucher from the Marked for Deletion on Portal section?
Can this accounting software tutorial help me combine data for multiple months into one Excel sheet?





Get Free Counselling Today
and Clear up all your Doubts
 Live & recorded classes available at easeDashboard for progress trackingLakhs of practice questions