
Learn AI Reels, AI Ads & Thumbnail Design: From Script to Professional AI Videos
 Avisha Das3 Aug, 2026
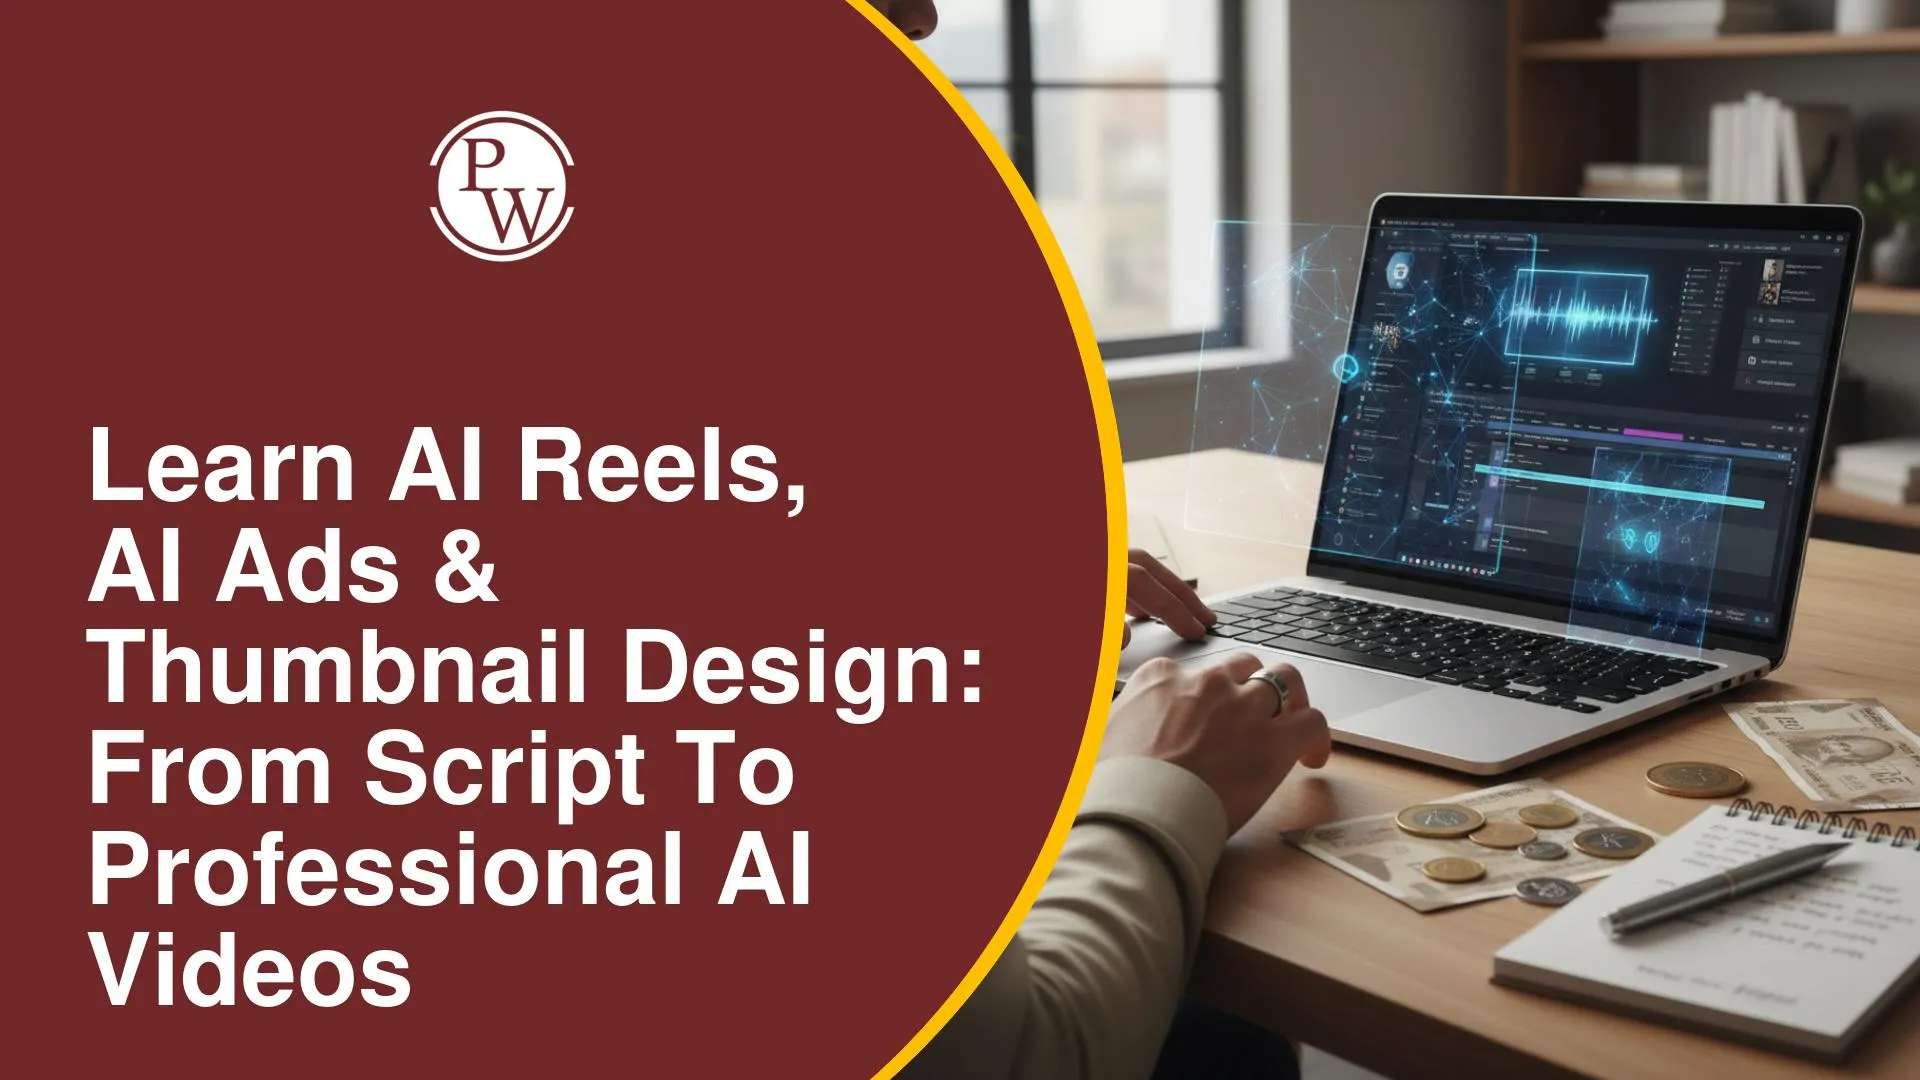
Creating an AI video no longer requires expensive equipment or large production teams. AI tools can generate scripts, voices, images, and videos within minutes, but many creators struggle because they focus on individual tools instead of the complete production process.
Professional AI videos are built through careful planning, from scripting and voice-overs to visual generation and editing. Understanding this workflow helps create more engaging, consistent, and polished videos for real-world projects. The PW Skills AI Video Creation Masterclass helps you understand this end-to-end workflow, from scripting and voice generation to visuals and video editing.
Understanding the AI Video Production Workflow
Once your script is finalised, the next stage is preparing every asset required before editing. Rather than creating visuals randomly, an organised production workflow ensures every element works together and reduces unnecessary revisions later.
The lesson demonstrates this process through an advertisement project, showing how voice, visuals, and motion clips are created before moving to video editing.
AI Video Production Pipeline
|
Stage |
Purpose |
|
Voice Generation |
Convert the script into natural narration. |
|
Image Generation |
Create visuals that match each scene in the storyboard. |
|
Image-to-Video |
Turn static images into animated clips. |
|
Video Editing |
Assemble all assets into the final video. |
Following this sequence makes the production process faster and helps maintain consistency throughout the project.
Why Planning Matters
Many beginners generate images immediately after writing a script, only to realise later that the visuals do not match the narration or overall story.
Planning helps you:
-
Maintain consistency: Characters, backgrounds, and lighting remain similar throughout the video.
-
Reduce revisions: Preparing every asset beforehand avoids recreating scenes later.
-
Speed up editing: Having organised assets makes the final editing process much smoother.
-
Improve storytelling: Every visual supports the narration and overall message.
How to Create Better Voiceovers and AI Visuals?
The quality of your visuals depends heavily on the quality of your narration. Even the best AI-generated images cannot compensate for a flat or robotic voiceover. Likewise, realistic visuals require detailed prompts and consistent character design rather than simple text descriptions.
Why Voiceovers Matter
A voiceover does more than read a script. It communicates emotion, creates engagement, and guides viewers through the story. The lesson highlights that pauses, emphasis, and pacing are just as important as the words themselves.
Continuous vs Natural Voice Delivery
|
Continuous Reading |
Natural Delivery |
|
Sounds robotic |
Sounds conversational |
|
No pauses |
Strategic pauses improve clarity |
|
Flat emotion |
Better emotional connection |
|
Lower engagement |
Higher audience retention |
Prepare Your Script Before Generating Audio
Before using any AI voice tool, refine your script so it sounds natural when spoken.
Focus on the following:
-
Add pauses: Break long sentences naturally.
-
Include emotions: Indicate where the narration should sound excited, serious, or conversational.
-
Improve pacing: Avoid continuous blocks of text that sound mechanical.
-
Simplify wording: Conversational language creates more natural voice-overs.
AI Voice Generation Tools
The lesson introduces different tools that can generate AI voiceovers.
|
Tool |
Key Highlights |
|
ElevenLabs |
High-quality voices, multiple voice categories, language filters, and free monthly credits. |
|
Google Gemini Text-to-Speech |
Free option with comparatively simpler voice quality. |
|
AI Studio |
Alternative platform for AI voice generation. |
When using ElevenLabs, the recommended workflow includes selecting Text-to-Speech, choosing the appropriate language and voice category, previewing voice samples, and then generating the final narration.
Create Consistent AI Images
Once the voiceover is ready, the next step is generating visuals that match each scene of your script. Instead of producing random images, every visual should support the storyline and maintain consistency.
A simple storyboard can organise the flow of the video before image generation begins.
Example Story Flow
|
Story Stage |
Purpose |
|
Hook |
Capture the viewer's attention. |
|
Problem |
Show the audience's pain point. |
|
Solution |
Introduce the product or idea. |
|
Transformation |
Present the positive outcome. |
Write Better Image Prompts
The lesson explains that prompt engineering plays a major role in image quality. Generic prompts often produce inconsistent results, while detailed prompts generate visuals that better match the intended scene.
A good prompt should include:
-
Character: Describe the person's appearance and role.
-
Action: Explain what the character is doing.
-
Environment: Specify the location, lighting, and surroundings.
-
Emotion: Mention the desired facial expression or mood.
-
Visual Style: Maintain the same artistic style across all scenes.
Common Image Generation Challenges
Even advanced AI models can generate inconsistencies if prompts are not detailed enough.
Common issues include:
-
Changing faces: The same character appears different across scenes.
-
Different clothing: Outfits change unexpectedly.
-
Lighting variations: Scene lighting becomes inconsistent.
-
Background changes: Environments differ between related shots.
Preparing a detailed character profile and maintaining consistent prompts helps minimise these problems and creates more professional-looking AI videos.
Generating AI Videos with Better Visual Planning
Once your images are ready, the next step is converting them into video clips. However, successful AI videos are not created by simply animating images. Careful planning, consistent characters, and thoughtful camera movements make the final output feel more natural and cinematic.
The lesson emphasises creating a storyboard and character sheet before generating videos. This helps maintain visual consistency and reduces unnecessary regeneration.
Build a Character Sheet
A detailed character sheet gives AI a clear reference, making it easier to generate the same character across multiple scenes.
Include the following details:
-
Character versions: Create separate "Before" and "After" versions if your story involves a transformation.
-
Multiple angles: Generate front, side, three-quarter, and back views.
-
Character profile: Define age, physique, clothing, hairstyle, and other physical attributes.
-
Expression sheet: Prepare different expressions such as neutral, focused, happy, frustrated, or confident.
Use Storyboards for Better Scene Planning
Instead of generating visuals randomly, organise the complete story before production.
|
Storyboard Element |
Purpose |
|
Scene sequence |
Arranges visuals in the correct order. |
|
Character placement |
Maintains consistency across scenes. |
|
Visual references |
Helps generate accurate AI images. |
|
Production planning |
Simplifies editing later. |
The lesson demonstrates organising these elements on a whiteboard tool before generating any AI visuals.
Convert Images into AI Videos
Once the storyboard is complete, each image can be animated using AI video generation models.
Typical workflow:
-
Upload the generated image: Use it as the base frame.
-
Add prompts: Describe the desired motion and scene.
-
Select a video model: Choose an AI model that matches your quality requirements.
-
Adjust output settings: Set the required duration and resolution before generating the clip.
AI Video Generation Models
Different AI video generation models offer varying strengths, from realistic motion and cinematic quality to faster rendering and creative animations. Choosing the right model depends on the type of content you want to create and the visual style you aim to achieve.
-
Veo 3: Suitable for generating high-quality, realistic videos with smooth motion and detailed visual outputs.
-
Kling: Known for creating cinematic scenes with natural character movements and realistic animations.
-
RunwayML: Widely used for AI-assisted video generation and editing, making it suitable for a variety of creative projects.
-
Google Omni: Supports AI-powered video generation with a focus on producing detailed and context-aware visual content.
-
LTX: Designed for quickly generating AI videos while maintaining good visual quality for different use cases.
-
Wan: Can be used to create AI-generated videos with varied creative styles and scene compositions.
-
Sora: Capable of generating highly realistic videos from text prompts, handling complex scenes, and longer visual sequences.
Different models produce different visual styles, so testing multiple options may be necessary to achieve the desired output.
Use Camera Movements to Make Videos More Engaging
Static visuals can quickly reduce viewer engagement. Camera movement creates depth, improves storytelling, and gives AI-generated scenes a more cinematic appearance.
|
Camera Movement |
Best Used For |
|
Push In / Dolly In |
Emotional moments and product reveals. |
|
Pan |
Showing wider environments or transformations. |
|
Tracking Shot |
Following a moving subject. |
|
Orbit Shot |
Product showcases and cinematic reveals. |
Choosing the right shot size also influences the impact of each scene. Close-ups, medium shots, and wide shots should be selected according to the emotion and purpose of the narration.
Add B-Roll to Improve Storytelling
B-roll consists of supporting visuals that complement the main narration. Instead of showing only the primary character throughout the video, these additional visuals make the content more engaging and visually dynamic.
Examples of B-roll include:
-
Supporting actions: Show activities related to the narration.
-
Product visuals: Highlight the product being discussed.
-
Environment shots: Establish the setting and context.
-
Close-up details: Draw attention to important elements.
Producing high-quality AI videos involves much more than generating visuals with AI tools. A well-planned workflow that includes natural voiceovers, detailed prompts, consistent character design, organised storyboards, and thoughtful camera movements leads to more engaging and professional content. As AI technology continues to evolve, mastering these production fundamentals will remain valuable regardless of the tools you choose.
FAQs
Q1. Why is storyboarding important before generating AI videos?
Q2. Which AI tools are recommended for generating voiceovers?
Q3. How can you maintain character consistency in AI-generated videos?
Q4. How can PW Skills help me learn AI video creation?




Get Free Counselling Today
and Clear up all your Doubts
 Live & recorded classes available at easeDashboard for progress trackingLakhs of practice questions