Angular Complete Tutorial
 Varun Saharawat28 May, 2026
Building modern, scalable web apps can feel overwhelming, especially when you need to manage data and keep the user interface up to date. Many developers struggle to organise large projects. Angular, developed by Google, is a comprehensive framework that simplifies development.
In this article, you’ll find an entire Angular tutorial that covers everything from basic data binding to complex component structures, giving you a straightforward way to learn web development.
What is Angular?
Angular is a development platform and framework used for building sophisticated single-page applications. It is built on TypeScript, which adds static typing to JavaScript, making the code easier to maintain and debug. Unlike basic libraries, Angular gives you a full set of tools, such as routing, form handling, and client-server communication.
Developers prefer this framework because it follows a modular approach. This means you can break your application into smaller, reusable pieces, making the development of an angular project much more organised. It also handles the synchronisation between the model and the view automatically, which reduces the amount of boilerplate code you need to write manually.
How Angular Works?
Before you get into complex code, it's important to know the basics. Angular works with a tree of components that define your app's UI and logic. Every app has at least one root component that links the component structure to the page's DOM.
The following list outlines the core concepts you need to grasp:
-
Templates: These are HTML snippets that define how the component looks.
-
Directives: These provide instructions to transform the DOM, such as adding or removing elements.
-
Modules: These are containers for a cohesive block of code dedicated to an application domain or a workflow.
-
Services: These are used to share data or logic across multiple components.
Features of Angular
Angular stands out because of its built-in features that handle common development tasks. One key feature is Dependency Injection, which keeps your components simple by letting specialised services handle tasks like fetching data.
Angular is also great at handling user input with its strong form system. Whether you're making a simple login or a multi-step form, its tools help you manage data and validation in a reliable way.
|
Feature |
Description |
|
Two-way Data Binding |
Synchronises data between the component logic and the view. |
|
CLI Tools |
Command-line interface to initialise, develop, and maintain apps. |
|
Routing |
Enables navigation between different views without refreshing the page. |
|
RxJS Support |
Handles asynchronous data streams and events efficiently. |
Angular Examples
To truly understand how these pieces fit together, it helps to look at common use cases. Most applications require a way to list items, filter them, and show details. By using structural directives like *ngFor and *ngIf, you can dynamically render lists and toggle visibility based on user interaction or data availability.
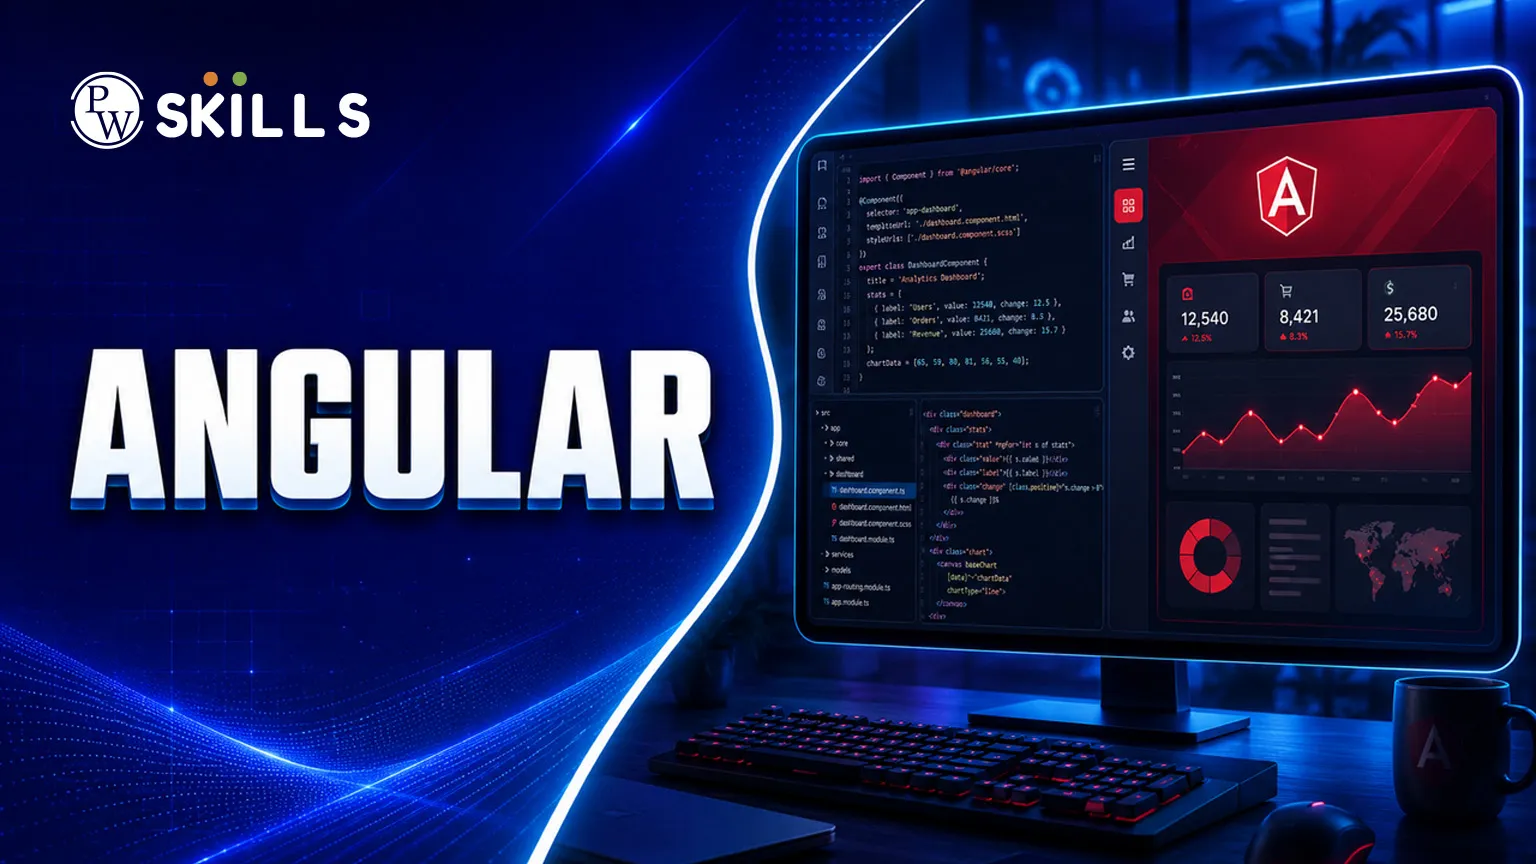
Consider a simple dashboard application. You would have a sidebar component, a header component, and a main content area. Each of these would be a separate component, potentially sharing data through a central service. This modularity makes it easy to update the sidebar without touching the logic of the main content area.
Angular Components and Templates
Components are the fundamental UI building blocks. A component consists of a TypeScript class that handles logic, an HTML template for the view, and a CSS file for styling. This encapsulation ensures that your code remains clean and that styles for one part of the app do not accidentally break another part.
When you look at angular examples, you will notice that templates use a special syntax to bind data. For instance, double curly braces are used for interpolation to display dynamic text. Property binding is used to set element properties, while event binding allows the app to respond to user actions like clicks or keystrokes.
Process of Starting with an Angular Project
Starting a new project is straightforward thanks to the CLI (Command Line Interface). This tool automates tasks such as creating new files and setting up the local development server. It ensures that every project follows a standard structure, which is vital for team collaboration and long-term maintenance.
To get started, you typically follow these steps:
-
Install the CLI tool using a package manager.
-
Run the command to generate a new workspace.
-
Serve the application to view it in your browser.
-
Create new components to build out your specific features.
Angular for Data Management
Managing data effectively is a hallmark of a good application. In this framework, data flows primarily through input and output decorators. Inputs allow a parent component to pass data down to a child, while outputs allow a child to send events back up to the parent.
This clear communication pattern prevents the "spaghetti code" often found in smaller JavaScript projects. Additionally, using services combined with Observables allows you to manage global states and handle API responses in a clean, declarative manner. This approach ensures that your application remains responsive and fast.
Angular Tips
Once you are comfortable with the basics, you can explore more advanced topics like lazy loading. Lazy loading helps improve the initial load time of your application by only downloading the code for the specific route the user is visiting. This is essential for large enterprise-level applications where the total bundle size can become quite large.
Another advanced area is state management. While services are great for many tasks, very large apps might benefit from specialised libraries that provide a "single source of truth" for the entire application state. Mastering these concepts will transition you from a beginner to a proficient developer capable of handling complex requirements.
Following a structured path ensures you don't miss out on critical security and performance practices. For instance, the framework has built-in protections against common web vulnerabilities like cross-site scripting (XSS). Learning how to use these built-in sanitisation tools is just as important as learning how to display a variable on the screen.



FAQs
Which version of the framework should I use?
Is TypeScript mandatory for development?
What is the difference between this and AngularJS?
Can I build mobile apps with this framework?
How do I handle styling in components?




 Live & recorded classes available at easeDashboard for progress trackingLakhs of practice questions