Do you know how to install visual code on your device? Well! if not here is your complete guide to install one on any of your device i,e. Windows, macOS, or more. Visual Studio Code is one of the most popular code editors, which most developers use. VS Code is free, which makes it easily accessible to everyone. It is also a lightweight and open-source code editor that supports multiple operating systems, including Windows, macOS, and Linux.
The installation process of VS Code remains the same in both Windows and macOS. In this blog, we will discuss how to install Visual Code on Windows with the help of a simple, easy-to-follow step-by-step guide. Read along to install VS Code on your device without any errors.
What Is Visual Studio Code?
VS Code is developed by Microsoft for easy editing of code. VS Code can be used even without the internet. It is a free editing tool that supports more than one language. It is super easy to use with a lot of features like, Syntax highlighting, autocompletion, various customization options, and multiple extensions for a smoother workflow.
- Multi-Language: The best part about VS Code is that it supports various programming languages, like Python, C++, Java, etc.
- Git Integration: It has a built-in Git Integration feature that lets you use GitHub inside the editor.
- Extensions: It has its own marketplace, where multiple extensions can be added.
- Customization: What’s another best part? You get a lot of customization options in the VS editor.
Read More: PIP in Python: The Powerful Guide to Package Installation and Management (2025)
What Is The Latest Version of VS Code In 2025?
You must check the latest version of VS Code before you learn how to install visual code on your device. As 2025 is at the end, the latest stable version of VS Code to date is 1.105.2, which was released in October 2025.
Is VS Code Windows Available For Free?
VS Code is an open-source code editing platform for Windows, which can be downloaded and used for free. This platform is developed by Microsoft and is widely popular around the world for its user-friendly interface and features.
You can download VS Code directly from the Microsoft official website and use it on devices with macOS, Windows, and Linux. Let us learn the step by step guidance on how to install visual code on your device.
How To Install Visual Code: A Step-By-Step Guide
These simple steps will guide you through the complete installation and setup method of how to install visual Code tutorial. Check down below.
Step 1: Visit the official website of VS Code
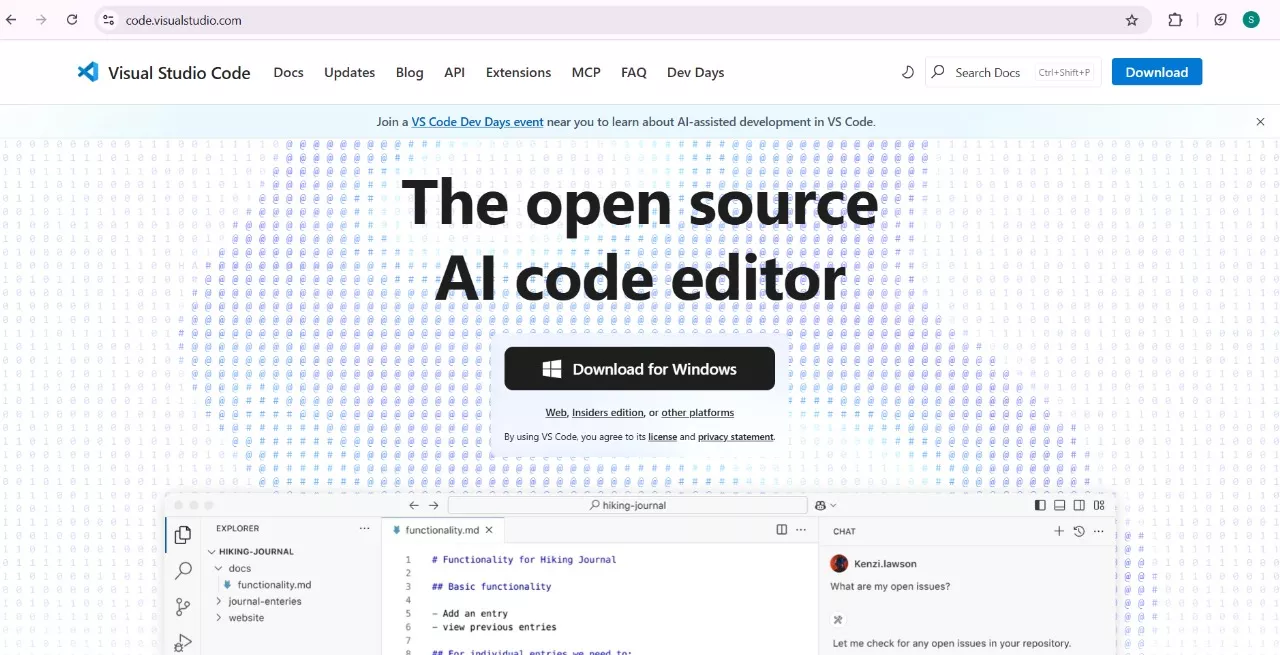
The first step in the How to Install Visual Code guide is to visit the official website of Visual Studio Code. You can simply use any browser that you normally use to visit the website, like Google Chrome, Microsoft Edge, etc.
Step 2: Download Windows Installer
After visiting the website, you will notice an option ‘Download for Windows’. Click on it to start downloading the .exe file. It may take a minute or two to complete the download.
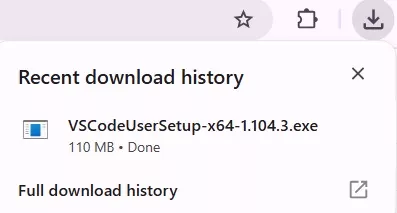
Wait for the downloading process to complete. Once it is downloaded, it will appear in the ‘Downloads’ section of your system.
Step 3: Run the Installer
Go to the Downloads section, you will find the VS Code file in the recently downloaded section. The icon of Visual Studio Code looks like the following image.
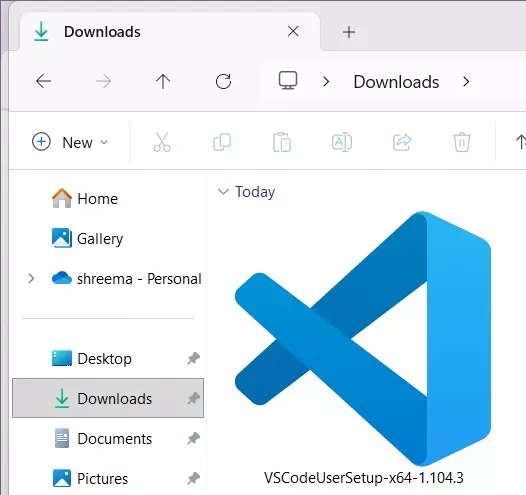
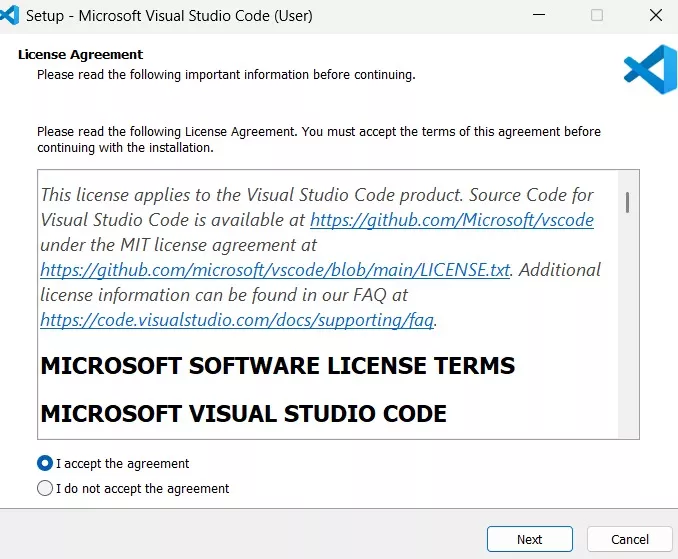
Open this file, and a license agreement will appear on the screen.
Read More: Free Python Course 2025 – Google’s Zero-Cost Coding Bootcamp for Beginners
Step 4: Accept the License Agreement
Read all the terms and conditions mentioned. Click on ‘I accept the agreement’, then click on ‘Next’ to initiate the process.
Step 5: Choose the Installation Location
You will now be asked to select a location where you want to install Visual Studio Code. A default location will appear. However, you can change it by clicking on ‘Browse’.
Now, choose the installation location according to your choice. Then click on ‘Next’.
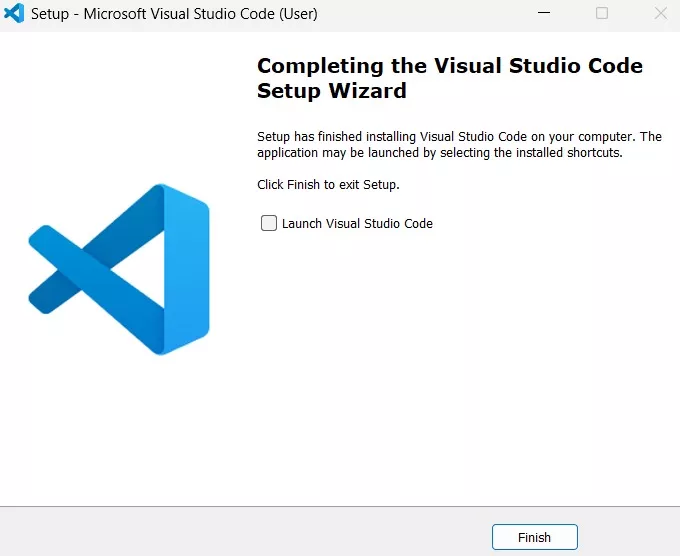
Step 6: Select Additional Tasks
You can also choose extra options like:
- Create a desktop icon
- Add ‘open with code action to Windows Explorer file context menu
- Add ‘open with code’ action to Windows Explorer directory context menu
- Register Code as an editor for supported file types
- Add to PATH
You can select multiple options as per your preferences and click on ‘Next’.
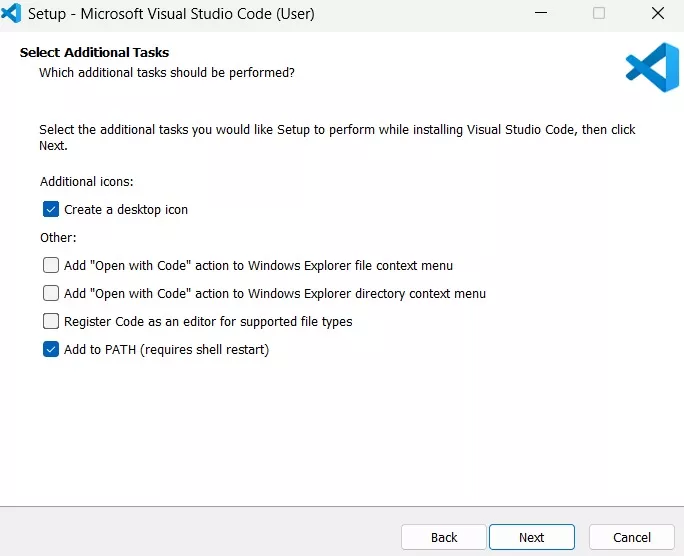
Step 7: Install VS Code
Now, you will be asked to install VS Code. Click on the ‘Install’ button. It may take up to a few minutes to complete the installation process.
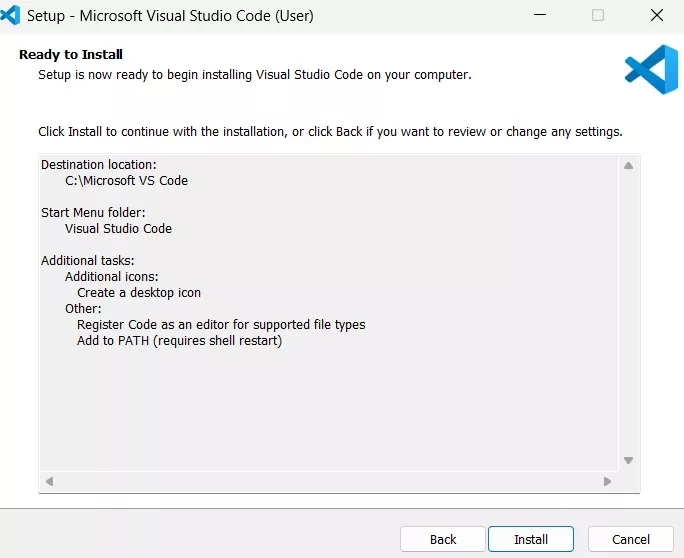
Step 8: Launch Visual Studio Code
After the successful installation of Visual Studio Code, you will see a screen to launch VS Code on your device.

Check (✔️) the ‘Launch Visual Studio Code’ box and click on ‘Finish’ to complete the Visual Studio Code Setup Wizard. After the process is complete, you will see a screen as shown in the image below.
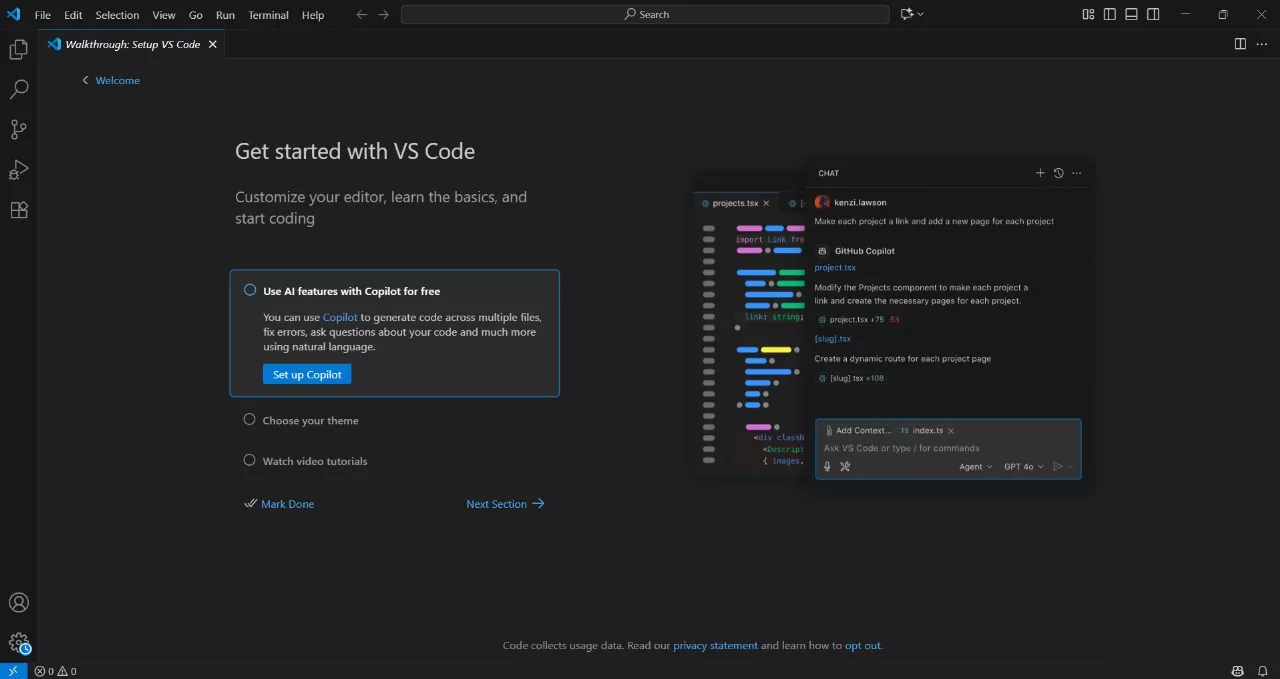
And it’s done, the installation process of VS Code is now complete. You can start by creating a new file and choosing your desired programming language to start coding.
Read More: Code Editor – Installing Code Editor in VS Code, Sublime Text, and Visual Studio
Step 9: Install Extensions
You can also install various extensions to make your coding experience better. Some of the useful and popular extensions that you can install are:
- Python: for Python programming
- Prettier: for code formatting
- Live Server: for running HTML pages locally
- GitLens: for version control
You will find a settings icon in the bottom left corner of the screen, click on it. Then click on ‘Extensions’. The shortcut key to search for extensions is Ctrl+Shift+X.
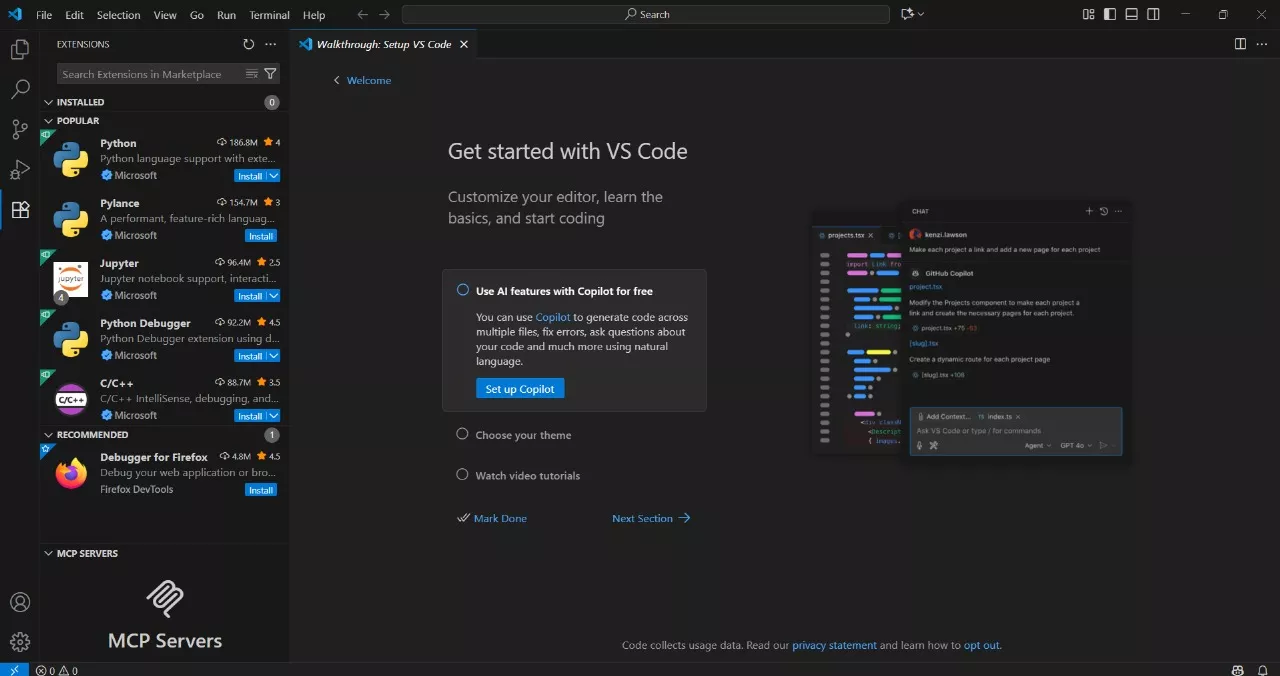
You can search for your preferred Extensions and install them.
Step 10: Start Coding
That’s it, the installation process of VS Code is now completed and you are ready to make some cool coding! You can now start writing code, customize themes, and try various other features.
By the above steps, you must have understood how to install Visual Code on Windows. It is a simple and easy process, which you can complete within minutes. VS Code is one of the most used tools by developers because it is like a one-stop solution for all your coding needs.
Tips For Setting Up VS Code After Installation
After installing VS Code, you can follow the tip mentioned below for a smoother coding experience with Visual Studio.
1. Choose a theme
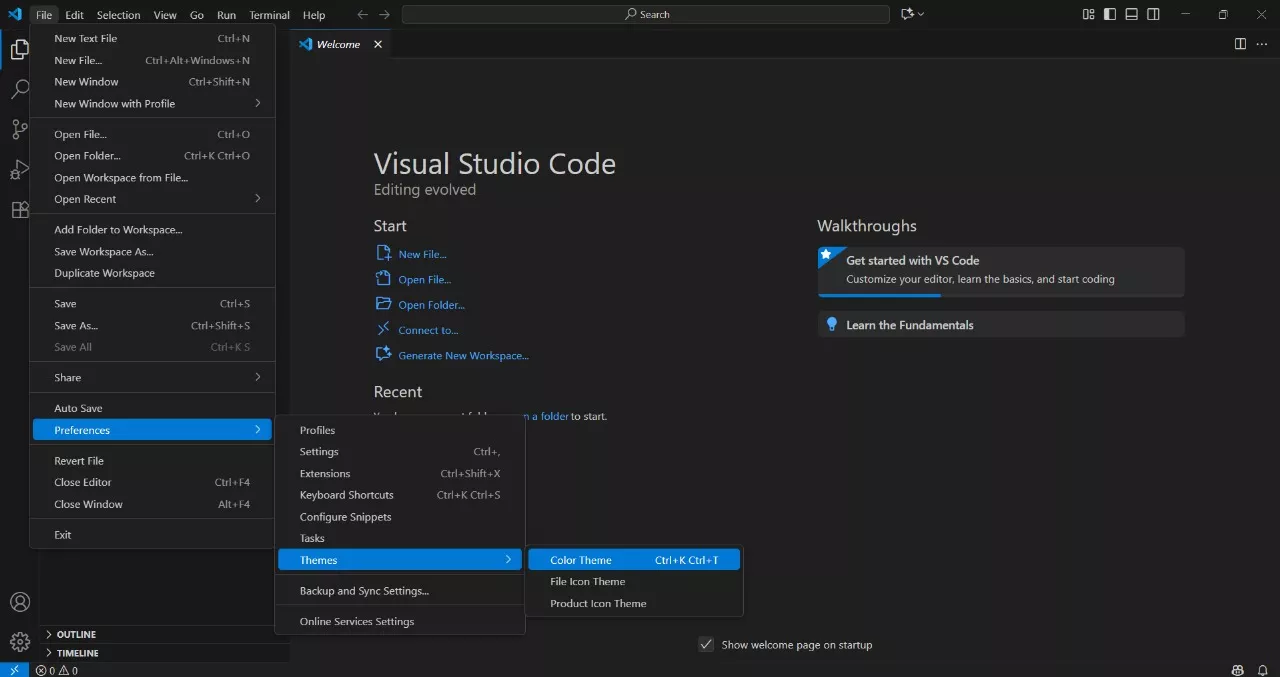
You can choose a personalised theme by following a set of three simple steps.
- Go to File
- Click on Preferences
- Go to themes, click on colour themes, and select your preferred theme from the various options available.
2. Install extensions
You can install extensions like Prettier, Live Server, and Python to improve the workflow. However, it is not a mandatory step but if you ask me, then I would highly recommend the use of extensions to improve your working experience and make it smoother.
Read More: Comments in Python: Why Are They Important and How to Use Them
3. Sync your settings
If you are someone who uses VS Code on a frequent basis, then you must sign in using your Microsoft or GitHub account to access all of your settings, like themes, extensions, etc, across all your devices.
How to Install VS Code FAQs
Q1. Is Visual Studio Code free?
Ans: Yes, VS Code is completely free and open-source. You can simply follow the guide on how to install VS Code and complete the installation process to access it for free.
Q2. Is it possible to use VS Code without the internet?
Ans: Yes, after installing VS Code, you can access it offline too. However, a stable internet connection is needed to download extensions and make updates.
Q3. VS Code works on which Windows: 10 or 11?
Ans: Visual Code Studio works well on both Windows 10 and Windows 11.
Q4. What are the system requirements for installing VS Code?
Ans: Your system must fulfill the following requirements to install VS Code.
Operating system: Windows 8, 10, or 11
RAM: Minimum 2 GB (however, 4 GB is recommended)
Storage: At least 200 MB for installation

